
I love earrings.
In fact, they were the first piece of jewellery that I covet, and till now earrings hold something special in my heart.
But I always have an issue. How do you keep them so that they don't get tangled? Especially if you are like me and especially love the crazy long ones that dangle past your shoulders. They get tangled so so much!
So here's a tutorial on how to make a display for your earrings: it doesn't just keep your earrings tangle free, they also allow you to show them off like the pieces of art they truly are!
You will need:
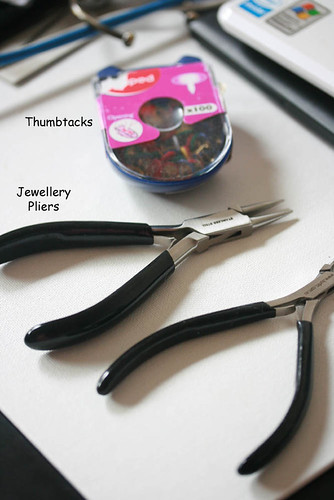
1x thumbtack
Jewellery pliers

1x cardboard with windows cut out
(Make sure that the windows are longer than your dangle earrings!)
Not pictured:
1x silver chain (or any colour chain you'd like really)
Jumprings.
~~~~~~~~~~~~~~~~~~~~~~~~~~~~~
Step 1:
Cut out windows from your cardboard as shown above.
Make sure that your cardboad is fairly thick!
If it's soft, it won't hold the weight of the earrings.
Step 2:

Measure out the length of chain you need.
If you want your chain to be tight, you need to cut it slightly shorter than the width of the window.
Step 3:
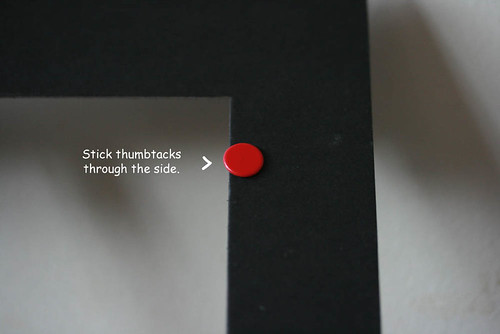
Use a thumbtack to punch holes in the side of the cardboad.
Try to punch the holes near the side of the window.
Step 4:
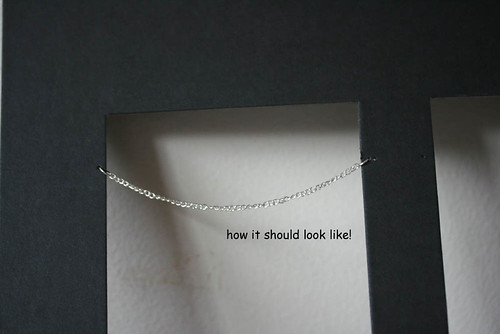
Attach the chain to the cardboad by hooking it up to the holes with jumprings!
See why you need to punch right at the side now?
Step 5:
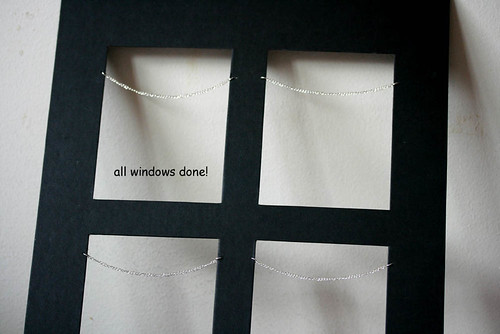
Repeat steps 2 - 4 for the rest of the windows
And you are done! Technically.
Step 6:
This step is optional. But we are crafty people, so...
~* it's time to decorate! *~
This is what I did with mine. I wanted something simple and girly!
Plus, I do have a heap of flowers and ribbons laying around..
And there you have it!
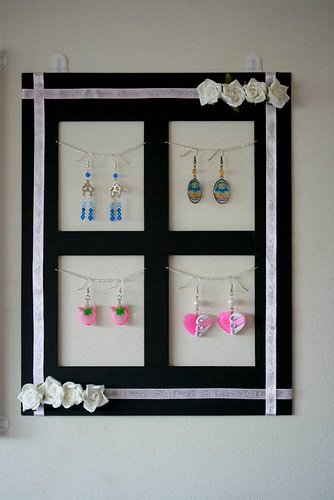
Your very own earring display, customized the way you want it to be,
a work of art that's functional to boot!
How was that? Easy isn't it?
It takes about 10 minutes to do, and it's so much fun!
Perfect for the bedroom, the craft room, even the living room!
Plus you can change the earrings around, so you can constantly update the piece of art.
Or even put one next to the front door, so you can grab a pair just as you go out.
The possibilities are endless...
So try it out, and please do show me your results~~!
Good luck! and Happy crafting!
p/s: You can make it as large as you like, with as many windows as you like. It's really up to you!
.JPG)


what a gorgeous idea! great tutorial Celeste :)
ReplyDeleteYou are one very creative lady! Nice work Celeste.
ReplyDelete