
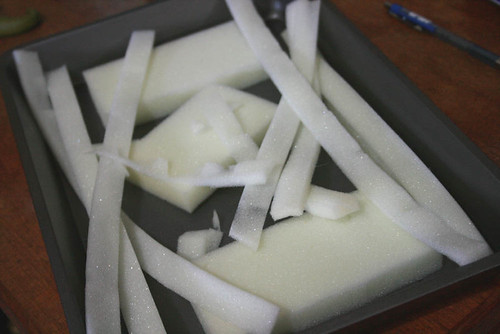
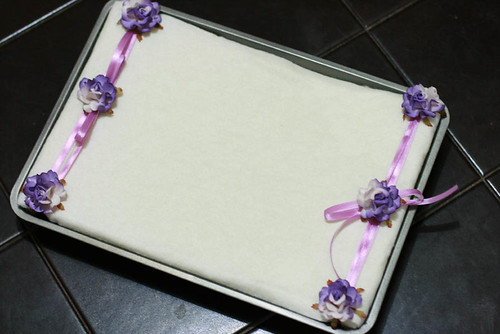
You might remember this rather terrible photo.
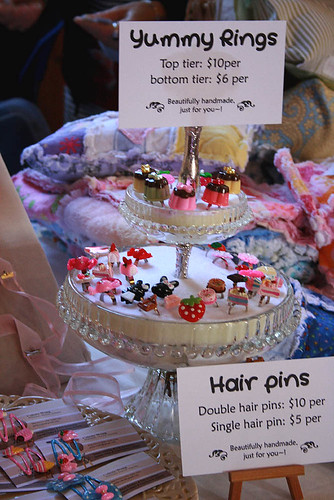
And my promise for a tutorial on how to turn almost anything into a ring display.
Well, this is it.
~~~~~~~~~~~~~~ Tutorial Start! ~~~~~~~~~~~~~~
You will need:

1x item you'd like to make into a ring display.
(In this tutorial, it's a baking tray, but anything with a bit of depth will work)
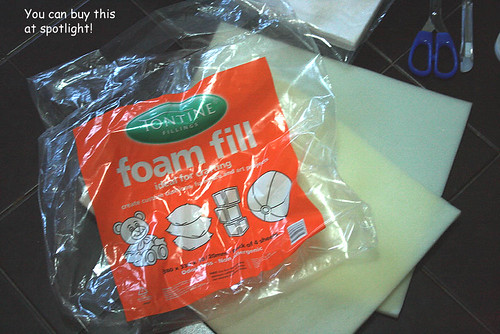
1x foam fill
You can buy bags of 4 pieces at spotlight. It will contain 2x thick, 2x thin pieces.
The thick pieces are better, but the thin ones work too.
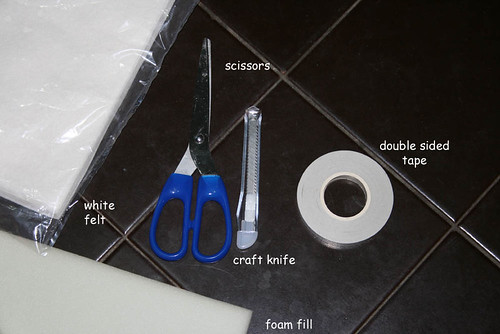
1x piece of white felt (or any colour you want your display to be)
1x scissors
1x craft knife
1x double sided tape
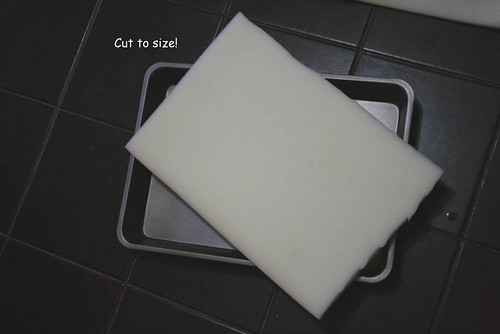
Step 1: Cut the foam to size.
Optional step: If your container is deep like my baking tray, don't waste the leftovers!
Use it to stuff the bottom so you don't have a hollow base.
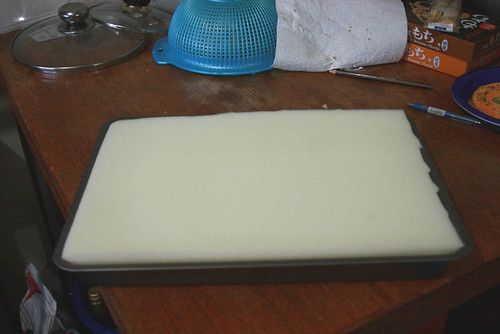
Step 2: Check that it fits, trim the sides.
(Sorry I was doing this in the kitchen..please don't mind the messy kitchen table!)
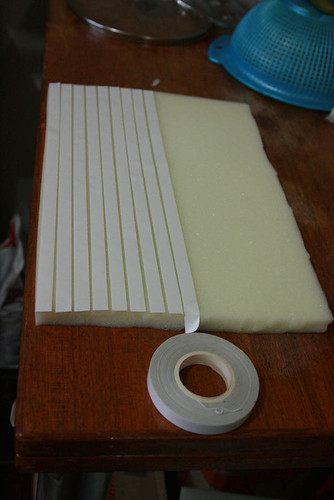
Step 3: Line double sided tape all down the foam.

This is how it should look like after you are done. Remove the top layer of the tape.
Step 4: Stick the felt on the top. Careful to make sure it's flat and not wrinkly!
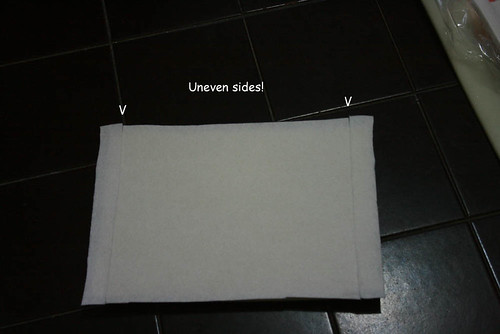
Because my baking tray was longer than my felt pieces, I had to cut small strips to cover the edges.
Aren't those lines ugly?
Step 5: Don't like the lines? Decorate it to make it pretty then!
Lines? What lines?
Tuck the foam base back into the tray.
(Sorry no photo for this!)
Step 6: Pick up that craft knife and start cutting slits through the felt and the top of the foam.
Make sure that the slits are wide enough to hold your rings.Usually 2-3 cm is fine.
And there you have it!
Your very own ring display!
Here's the one in the tutorial in action!

You can decorate it more if you like, however I wanted mine to be recognizable as a baking tray. Hehehe.
So how was that? Easy, isn't it? You can turn almost anything with a bit of depth into a ring display this way!
My cupcake stand was slightly harder as we had to make it round, and had to punch a hole through the middle for the handle.
But the technique was exactly the same. So take a look around you, what can you use to make into a ring display?
.JPG)


lovely work!
ReplyDeleteWow Celeste I love this idea, I'm marking for a must do project for my market stall. Thanks.
ReplyDeleteI great idea.
Great idea Celeste - i was trying to think of how to display my rings so this has been a great help
ReplyDeleteGreat idea - thanks so much for sharing such a fun and innovative display idea Celeste. I've been trying to work out where to buy that foam and never thought of Spotlight.
ReplyDeleteThis is a great idea & handy to know - can be used to display other items too.
ReplyDeleteThank you.
ciao,
Elena :)
Very cool ring display, Celeste.
ReplyDeleteJust the thing I need!
Hi, I did email you my contact details, I've tried again, so hopefully it will work. If it doesn't work my email is nadineyager@yahoo.com.au
ReplyDeleteThanks, Nadine
I love this!!
ReplyDeleteHi - Wonderful blog...love the "how to make a ring display". I'll have to tell all my jewelry making buddies about that bit of info on you blog.
ReplyDeleteAlso thanks for responding to my etsy forum post this morning...that's how I found your giveaway. I had given up on my thread as it got buried from all of the thread killers that were going on. They have really named those right "Thread Killers", cause they kill every other thread that estians try to post in the promotions forum. Forget about the little shop that's having a sale, or the brand new shop trying to get people to come in and see what they've got, it all gets "Death by the Thread Killers". Ha, ha sounds like a horror movie. LOL
Anyway I am now following your neat blog.
Awesome tutorial! I really enjoyed it and it was well thought out and easy to follow :D I am definitely going to have to try this out, I need a better way to display all of my jewelery at home! Very cool!
ReplyDeleteVery clever!
ReplyDeleteWhat an ingenious idea! I will try this out, though I only have four rings :)
ReplyDeleteOh my that looks great! And it makes your rings look like mini baked things, like cupcakes!!
ReplyDeleteMaria
www.facebook.com/dropofsunshine