
I was originally going to go for the Daylesford Christmas Craft Market on that day, but accidentally forgot to send in my application form..... whoops.
It turned out that it was just as well since I need to attend a children's music concert the same day, so I wouldn't be able to do the duck in-duck out thing I'm planning to do on the 28th of November!
I did promise pictures of my craft stall from Northside Makers, so this will the post about it. Are you ready?
Let's start with my concept sketch. I really do fail at drawing, so please excuse the rather shoddy sketch.

At the side is an incomplete list of things I should be displaying on my table.
I loved the idea of bunting so was considering getting custom buntings made with my name on it.
The brown piece with red Vs on them were meant for necklaces, the blue cards on the laundry line for earrings and the suitcase (my vintage one!) would have been filled with prepackaged brooches. Namely my raincloud/lightning/sunny day brooches. And the orange bowls by it were meant to stand for the lace bowls I had made up for the table.
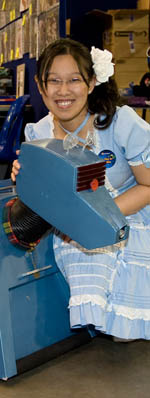
I then spoke to a friend of mine who is a brilliant engineer. He's rather handy with his hands and does rather amazing work. As a result of that, he made me the basic wooden stand for my table, with a few changes:
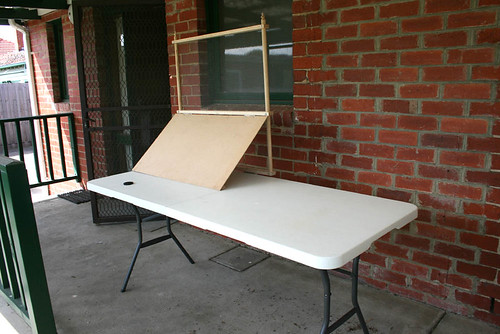
This was the beginning of the stand. It's semi-permanent, there are screws we tighten once it's on the table to make it permanent and not collapse randomly. We did have to change the idea of the laundry lines for earrings: The wooden frame by itself wasn't stable enough, so he had to add a mesh. Technically I could still have done the laundry line thing, but I wasn't fond of the idea of the mesh showing up behind the earrings.
Once the base of the stand had been made up, I hopped down to Bunnings and got myself a can of paint:
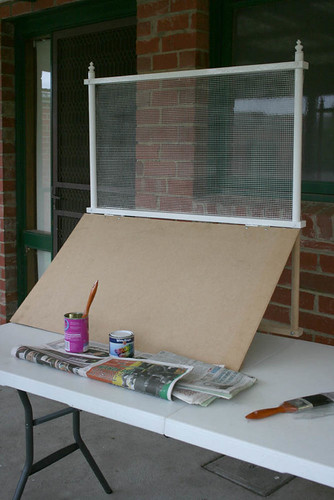
And started to paint it all white. Thankfully, the weather was fantastic during that week of September school holidays, so it all dried in record time. And while that was drying, I ran along and got myself some signage:
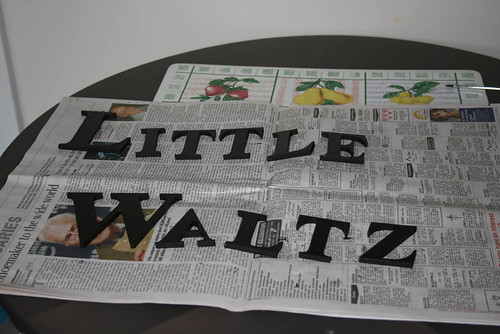
Scrapbooking letters that I painted black!
Unfortunately I don't seem to have other progress pictures. But other than painting the frame white, I also had to figure out a way to attach a corkboard to the MDF board for the necklace. I had a lot of issues trying to find a large enough corkboard that didn't already come with its own frame, so in the end I got a pack of cork floortiles from bunnings, some liquid nails and made that into a corkboard instead. This allowed me the flexibility of cutting it down to the size I wanted it to be exactly. Though now I have a whole tube of liquid nails that I'm not quite sure what to do with. Hm.
Alright then, so after all that work.... here's how the actual booth looked like on the day! Sorry about the blurry photos.. I didn't realise that I hadn't adjusted my camera settings properly.. I think I was too distracted with other things!
I shared my table with the beautiful Kerri from Vintagesewandso, but what I'd like to show you is my side of the table.
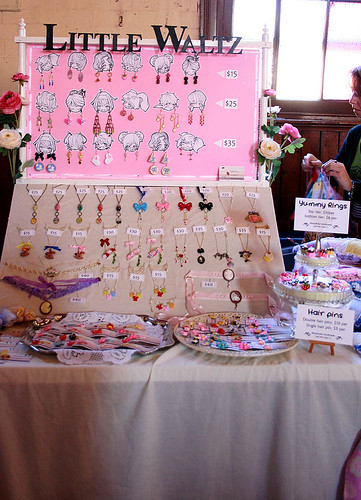
The full view
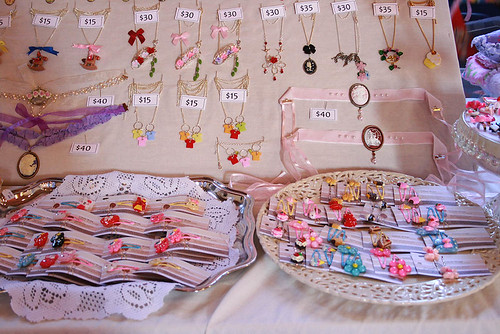
A close up of some of the necklaces and the hairpins
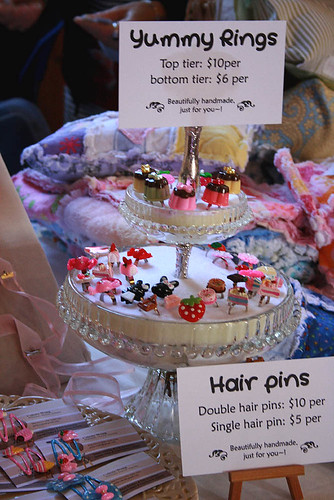
Close up of the ring stand
I am quite proud of the setup, especially of the fact that most of it, had been handmade and/or thrifted. The ring stand was originally a cupcake stand that I thrifted for 10 dollars. I then obtained some foam, felt and double sided tape and made it into a ring stand. I will be doing a tutorial on that soon, so stay tune on how to make your very own ring display!
The trays and plate that the hairclips are displayed on were also thrifted and rather beautiful in their own right.
I'm not quite sure if you can see much of the earring display, but basically they are cute little heads that yet another talented friend drew for me. I enlarged them and printed them out and used them as the base for earring display: much more interesting than your normal earring stands!
The tablecloth was also thrifted .. it was originally a bedsheet! I cut it down to size, and used the remaining piece to wrap the corkboard with. Perfect fit.
So what do you think? Yay or Nay? There are many things yet that I'd still like to improve, so stay tune for my next craft table setup!
.JPG)


Celeste..this looks absolutely wonderful!
ReplyDeleteceleste! The setup looks lovely! Suits your sweet jewellery!
ReplyDelete---
www.littlemoandfriends.com
looks awesome :D
ReplyDeleteIt turned out really well! I LOVE the cupcake stand, I can't wait to see the tutorial ^_^
ReplyDeleteThis is absolutely beautiful!! you have great patience to organize yourself like that! :)
ReplyDeleteOhhh so cool! I need to work out a way to display my photos, your stand has given me an idea!
ReplyDelete